A/B Testing with Google Analytics 4 (GA4) and GrowthBook
This guide walks you through using GrowthBook with Google Analytics 4 (GA4) for A/B testing. There are a few parts to this, connecting GA4 to BigQuery, connecting GrowthBook to BigQuery, and then configuring GrowthBook to track correctly with GA4.
You can watch a video version of this guide, largely focused on Google Optimize replacement, here:
Configuring GrowthBook to use Google Analytics GA4 as a data source
GrowthBook connects to Google Analytics (GA4) via BigQuery. This process is straight forward, and outlined below. You can also find Google's documentation on how to create this link here.
1. Create a BigQuery Project (if you don't have one)
If you don't have a BigQuery project, you'll need to create one. Go to your Google Cloud Console and create a new project:
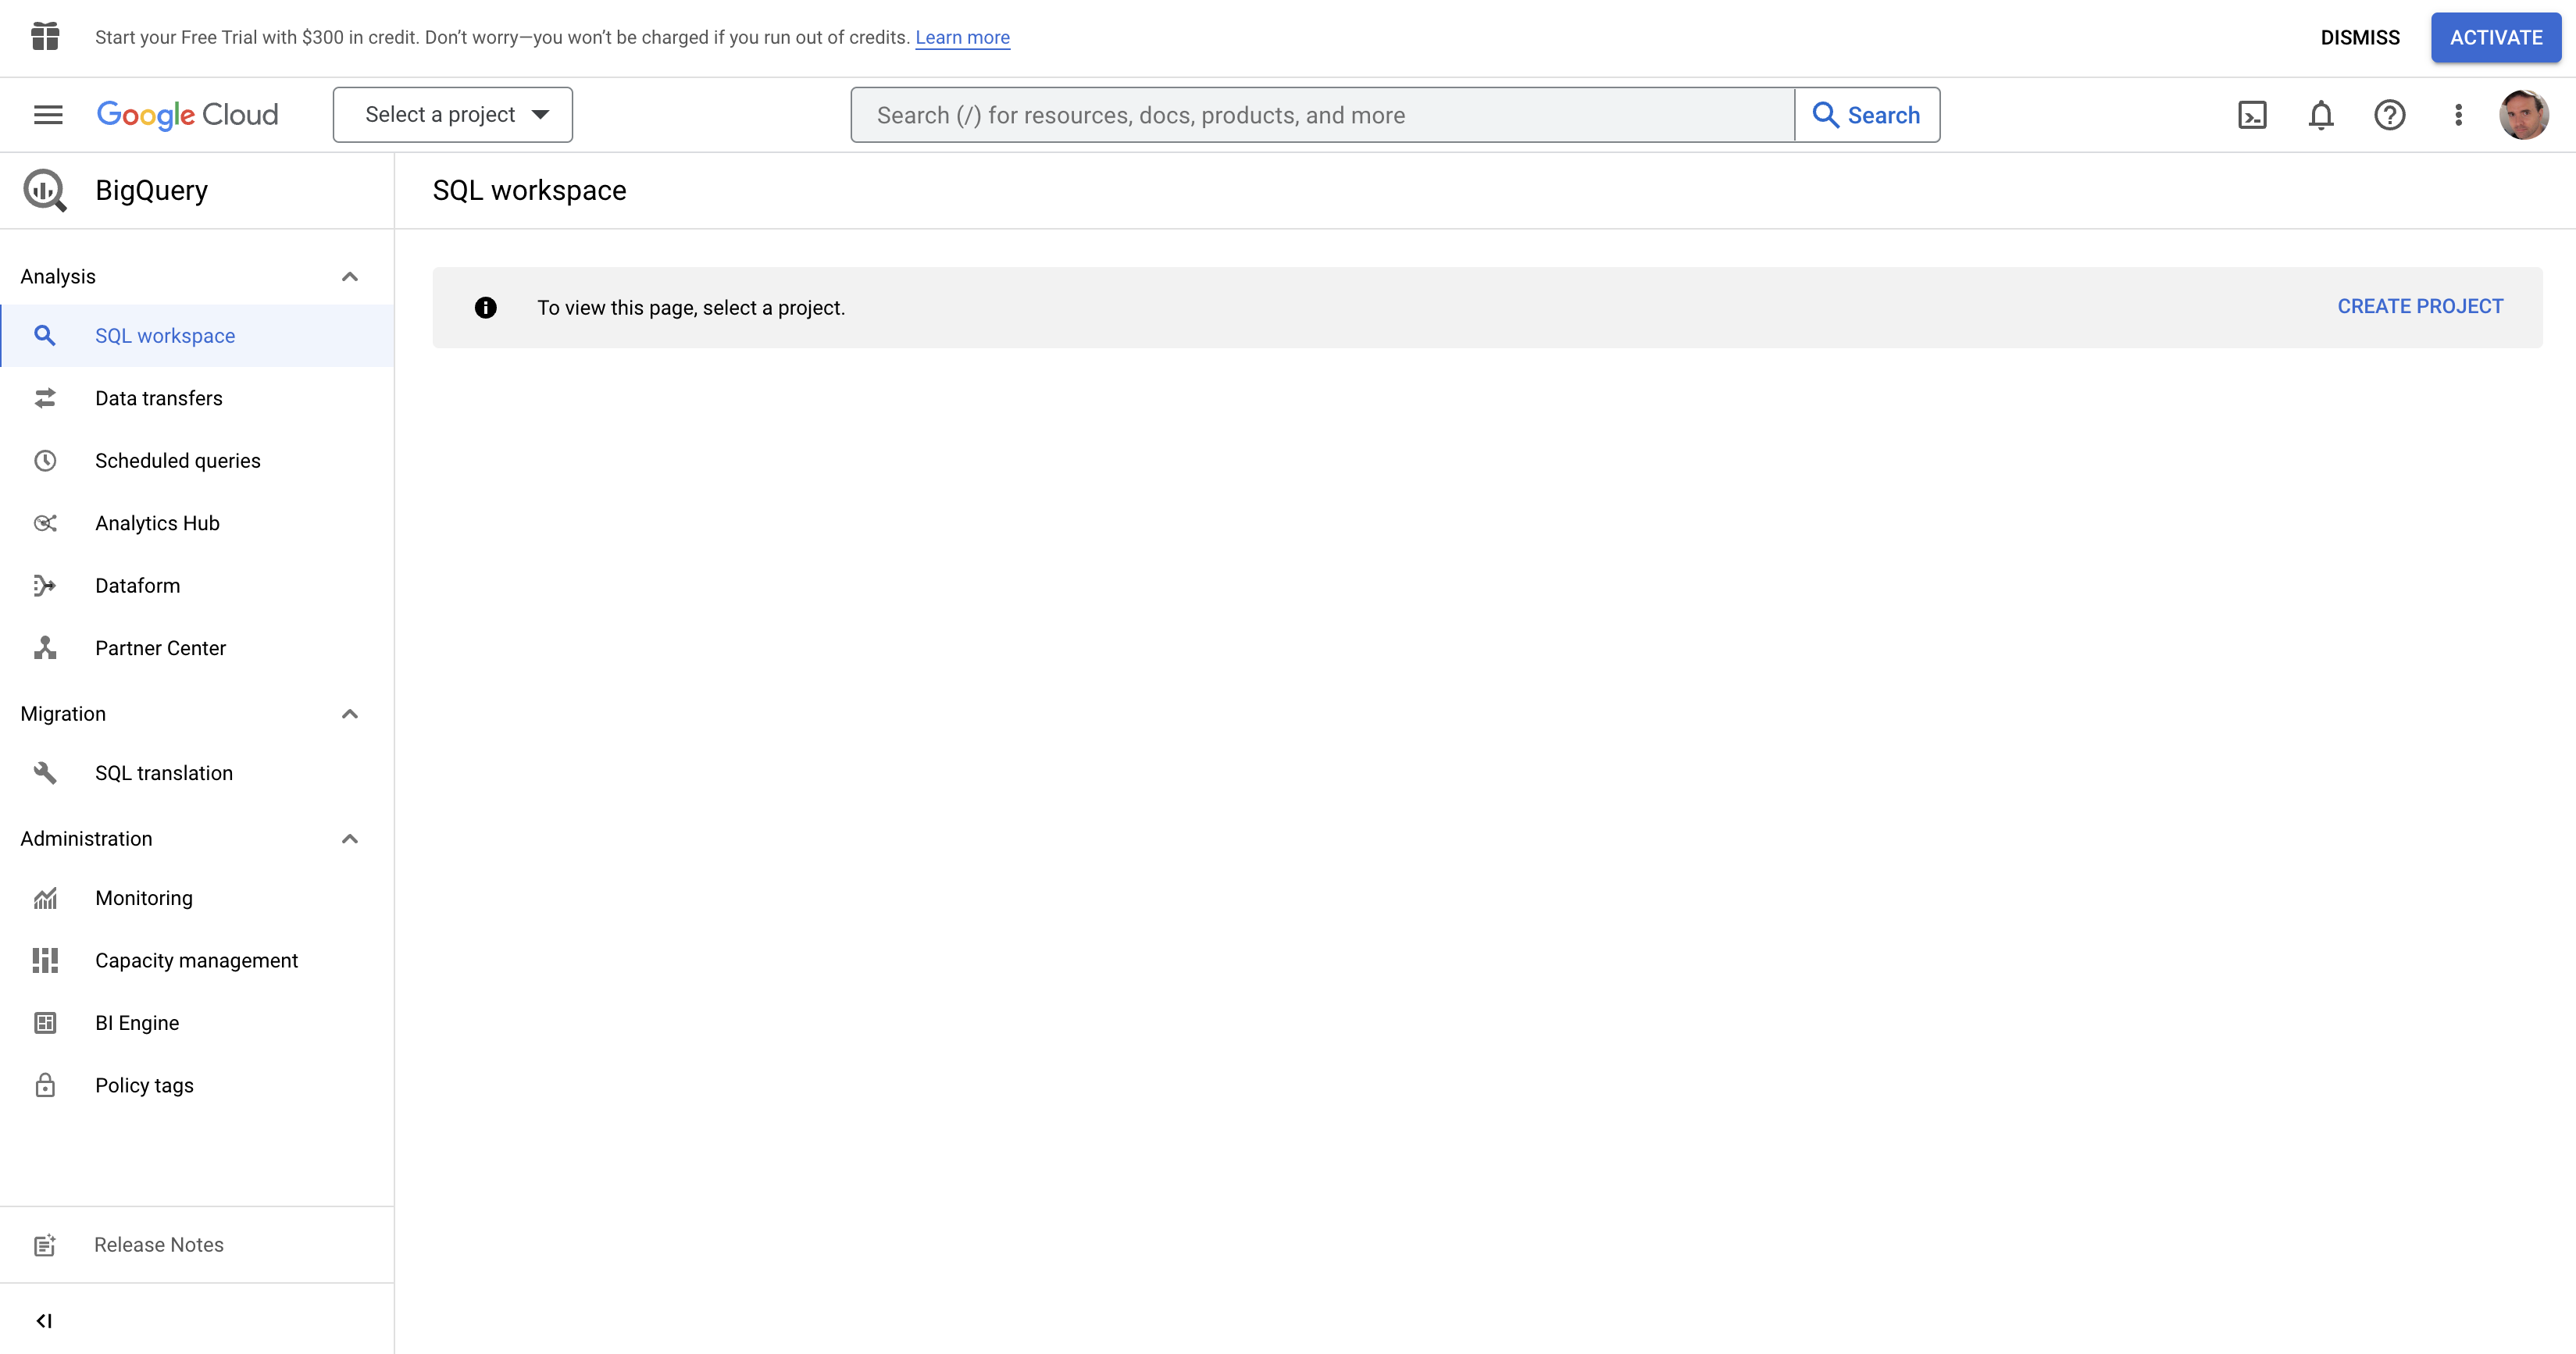
Click on Create new project from the right and give your project a name.
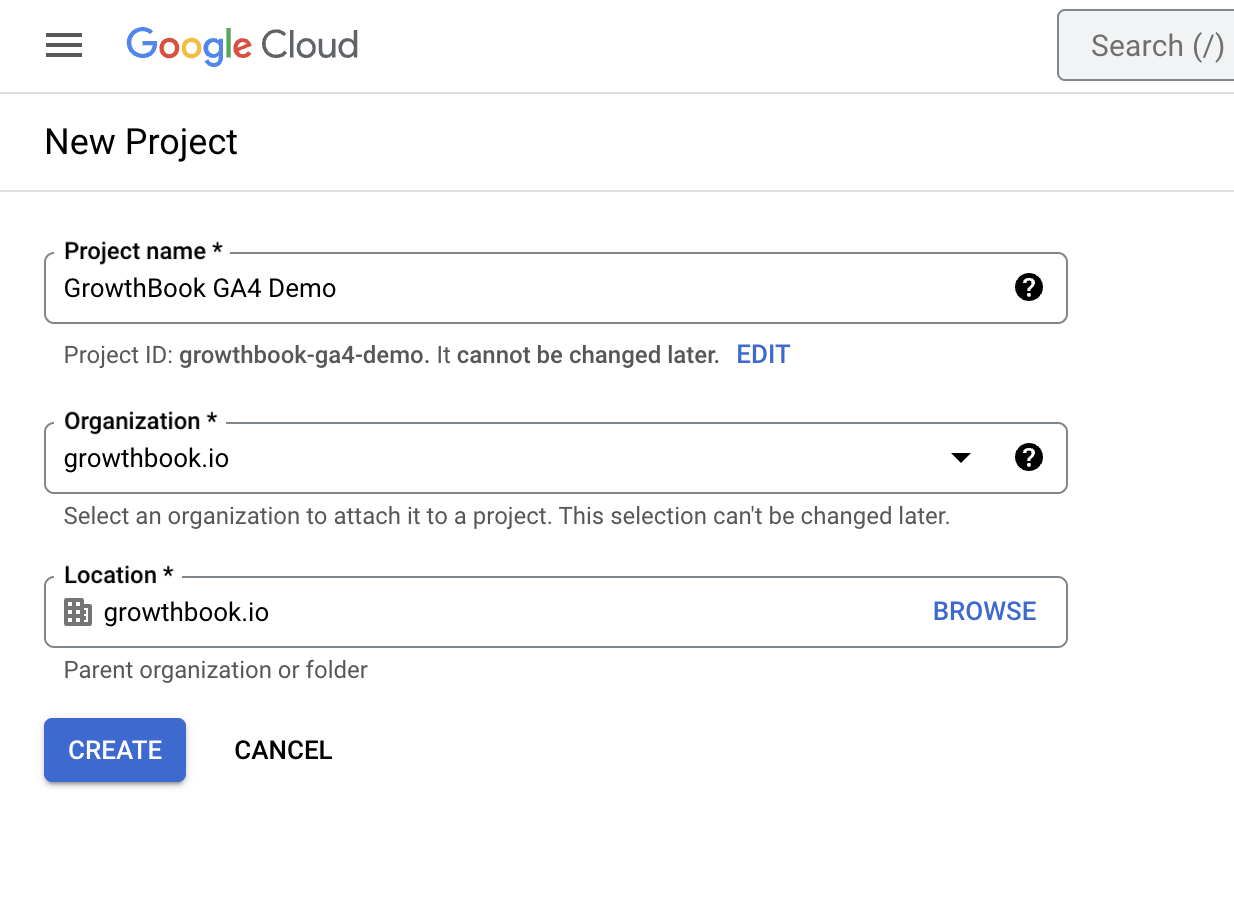
Once created, you'll be redirected to the BigQuery dashboard.
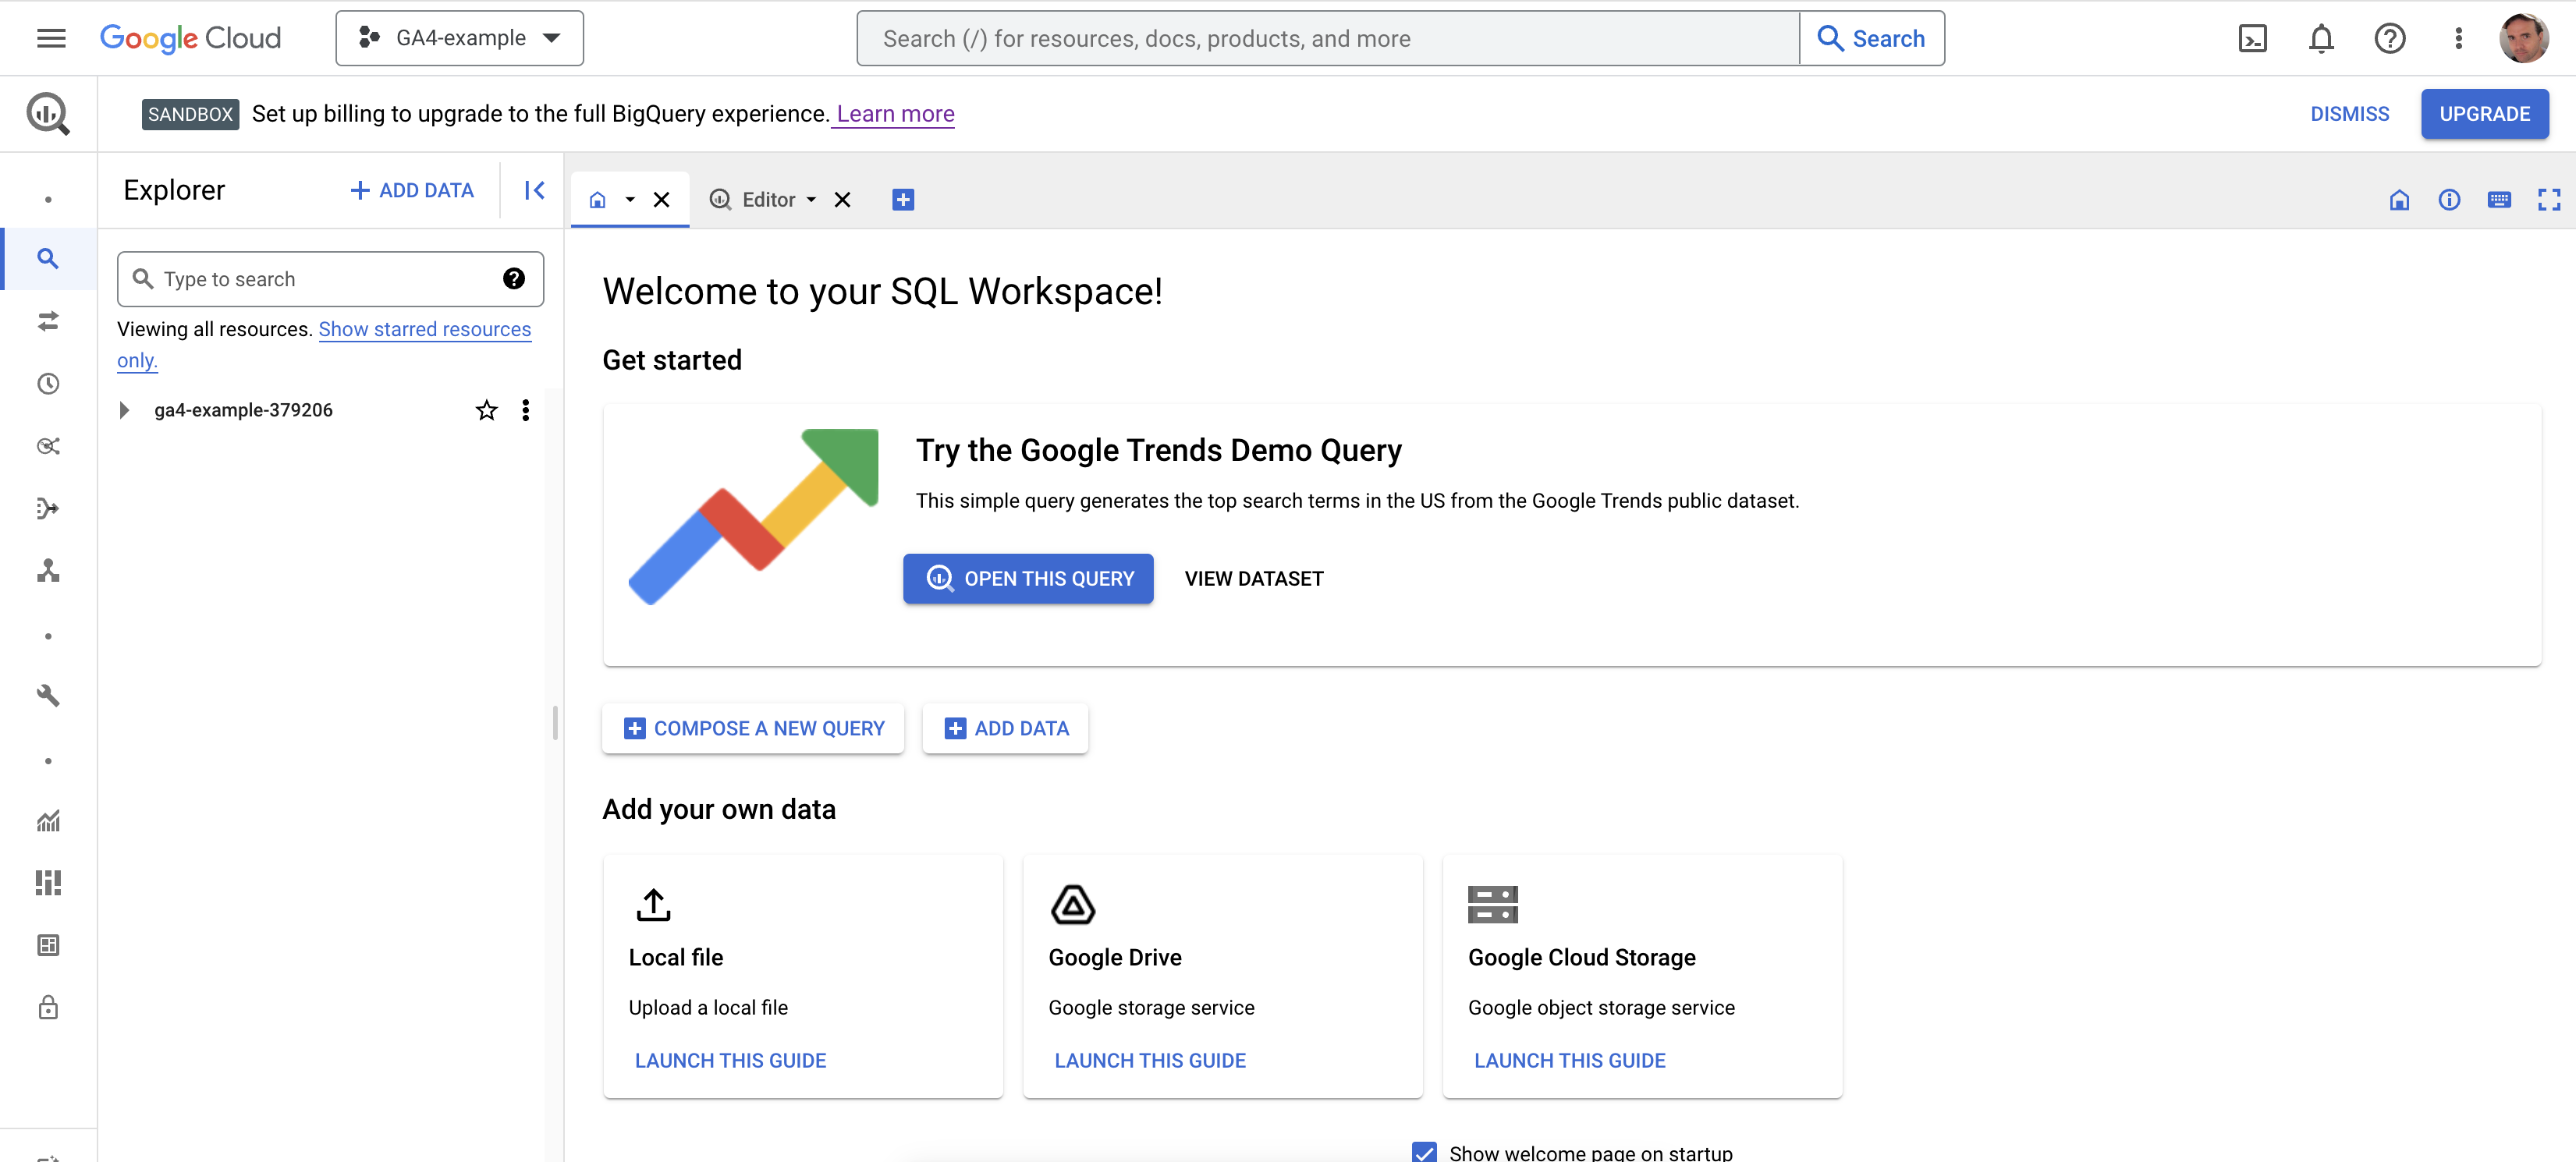
If you created a new project, the BigQuery API is automatically enabled. Otherwise, you'll need to enable it manually here
If you are just testing GrowthBook with GA4 out, you can use the sandbox project that Google provides for free. When you create a new cloud project the sandbox should be automatically enabled. You can find more information about the sandbox here.
2. Connect Google Analytics to BigQuery
Log into your Google Analytics account and navigate to the Admin section. From there, make sure you have selected the right property, and scroll down to Product Links section. Click on the menu named BigQuery Links
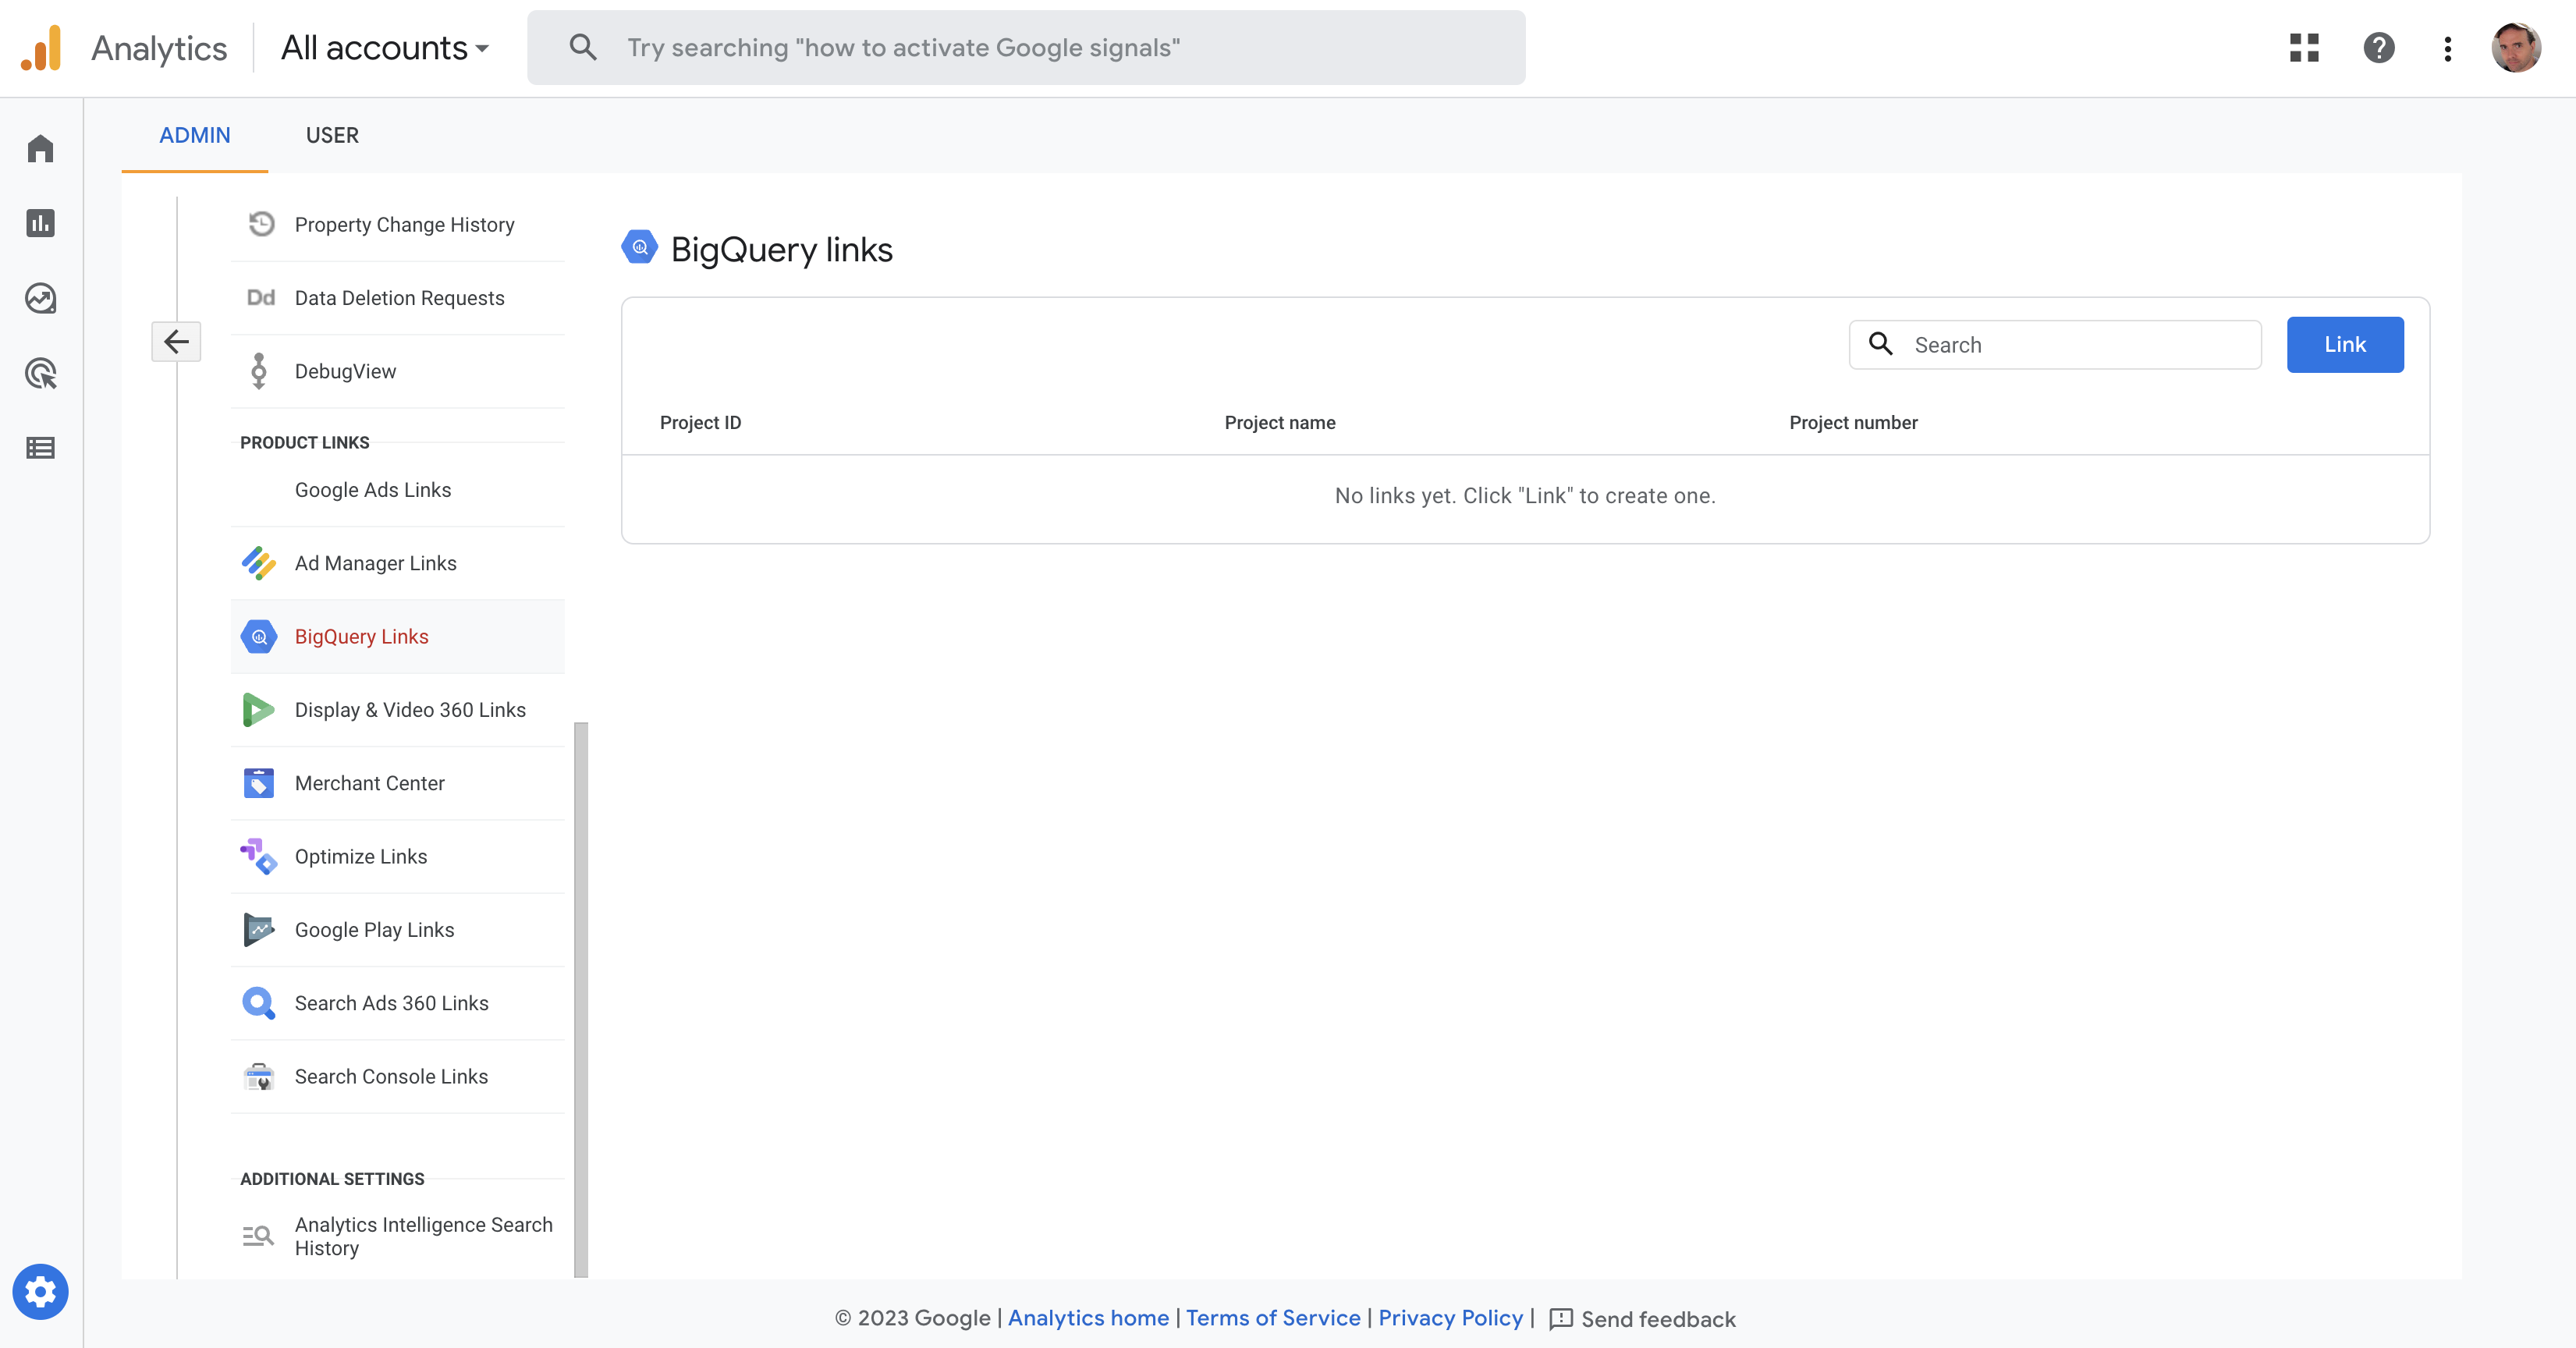
Click on the Link button. This will open a menu that allows you select the project. Select on the Choose a BigQuery Project link.
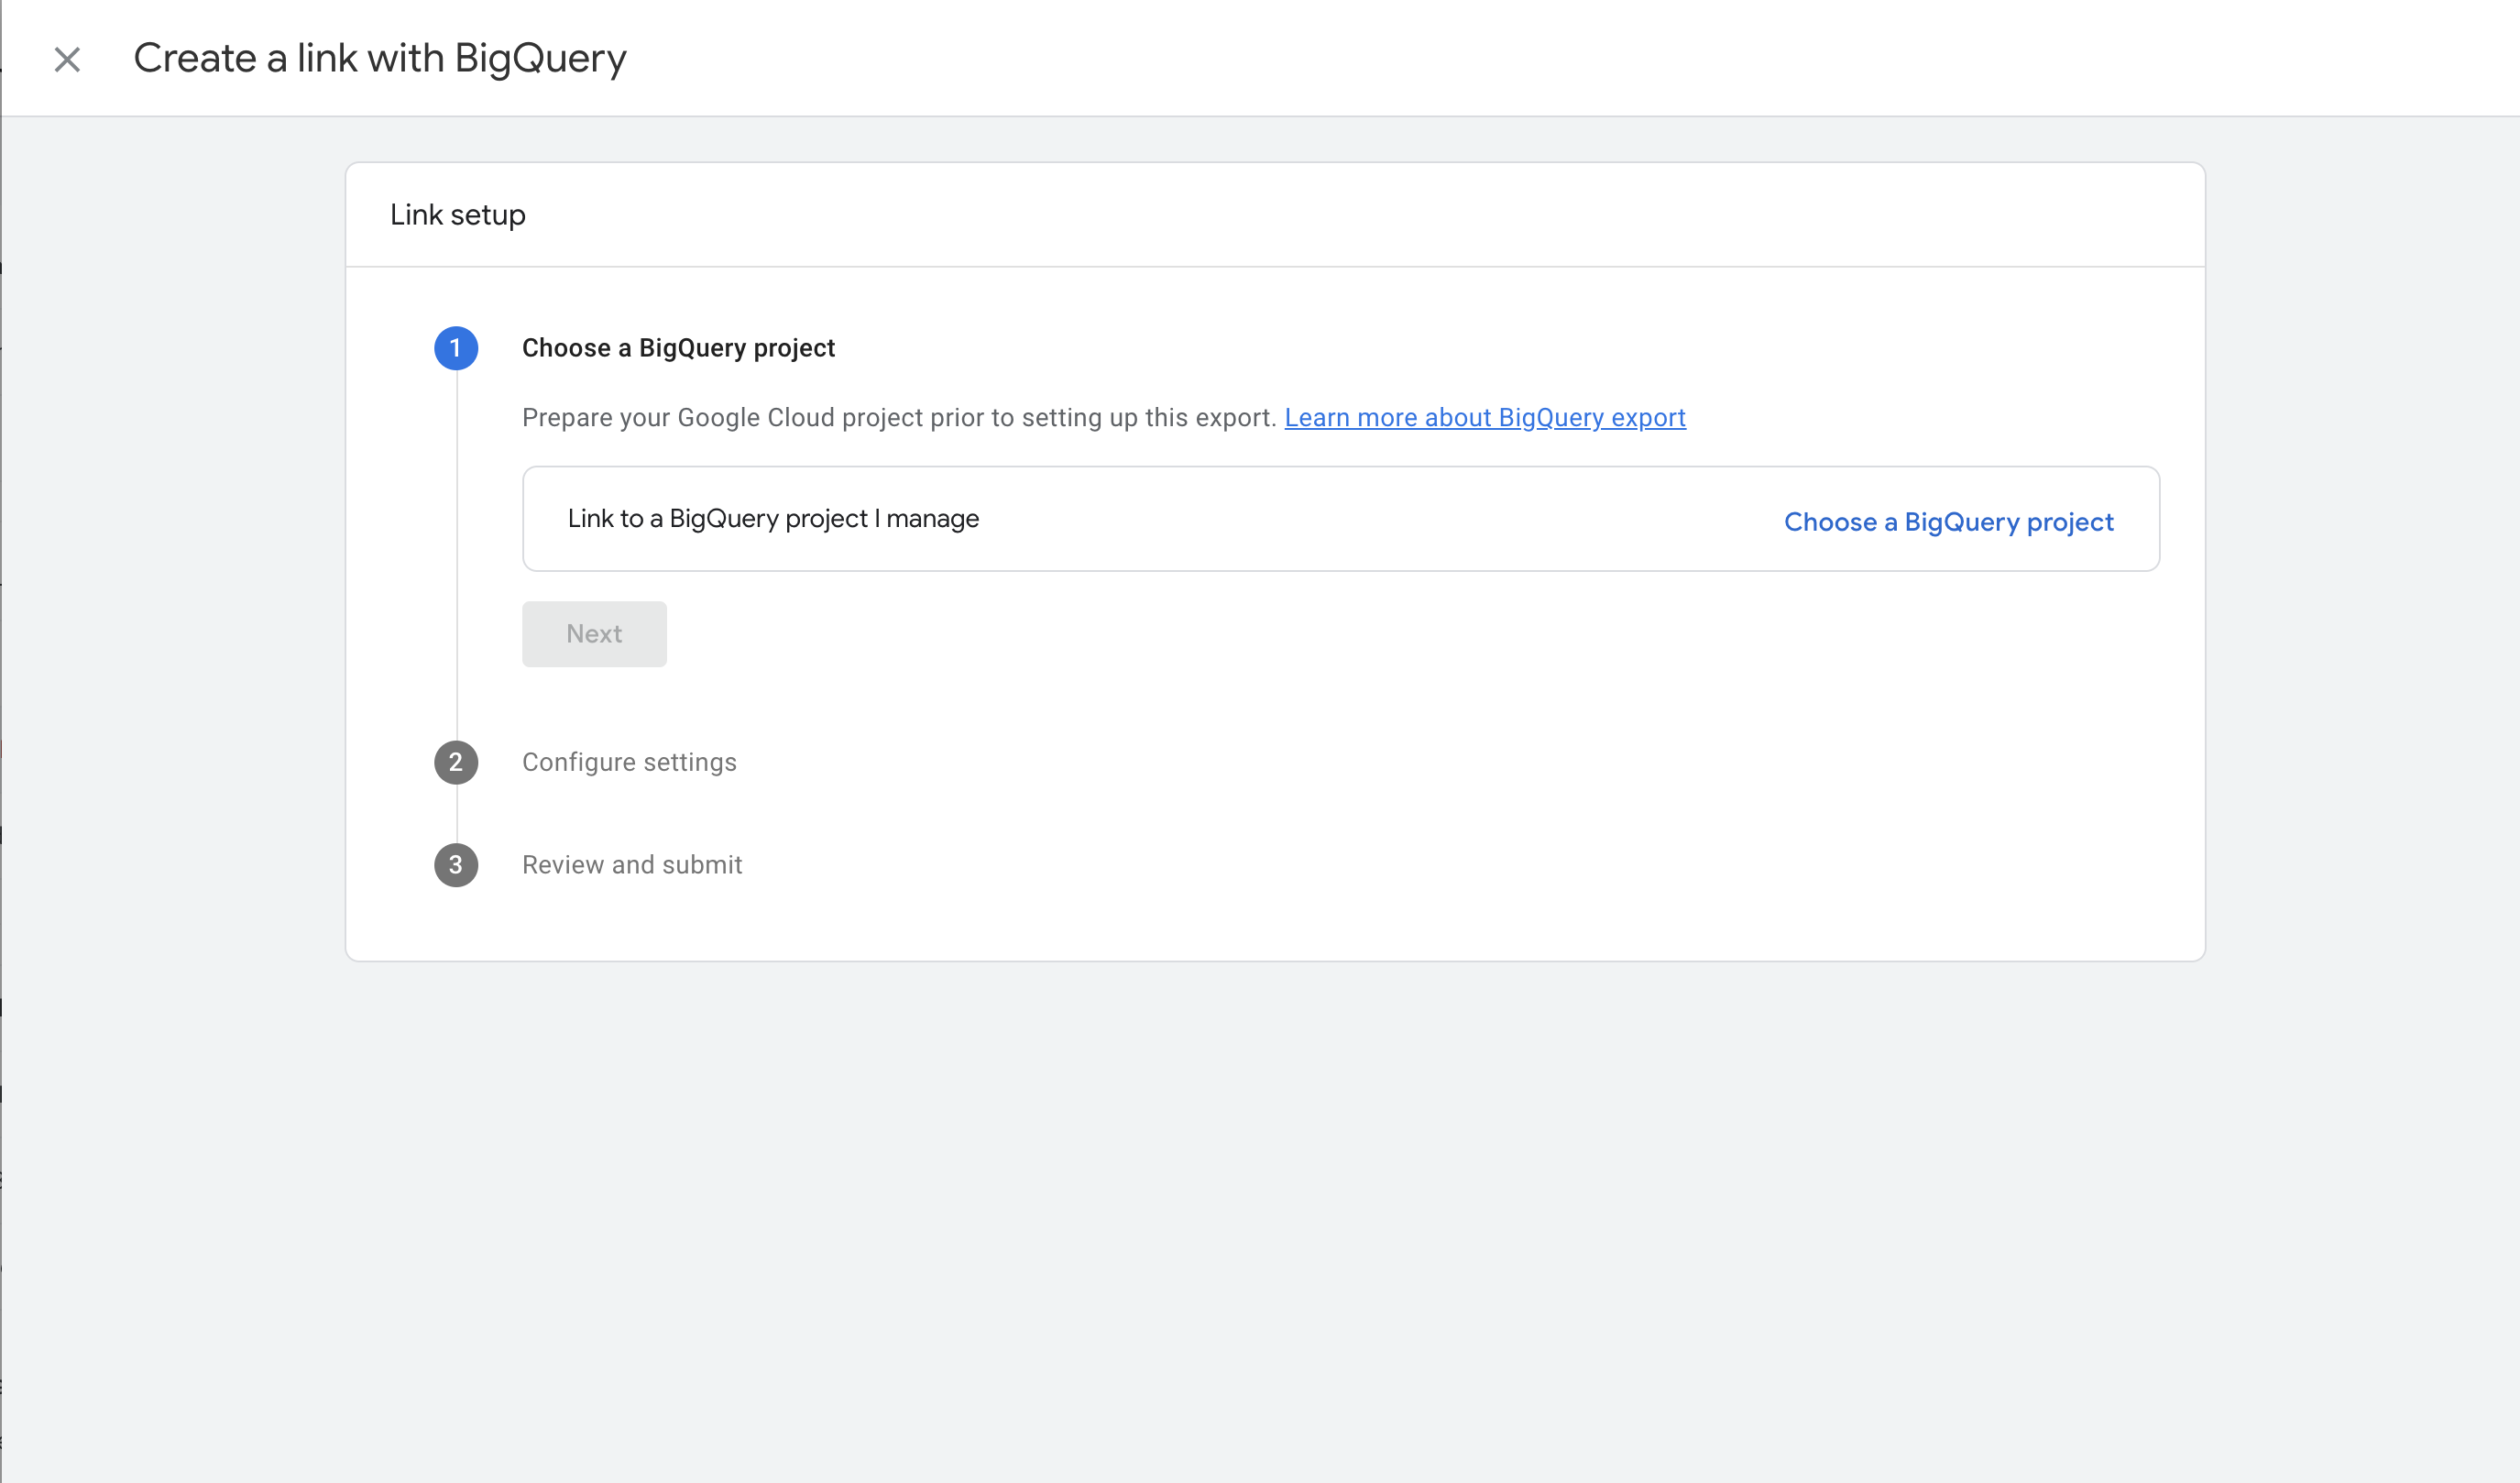
Select the project you wish to send your GA4 data to:

Then click next
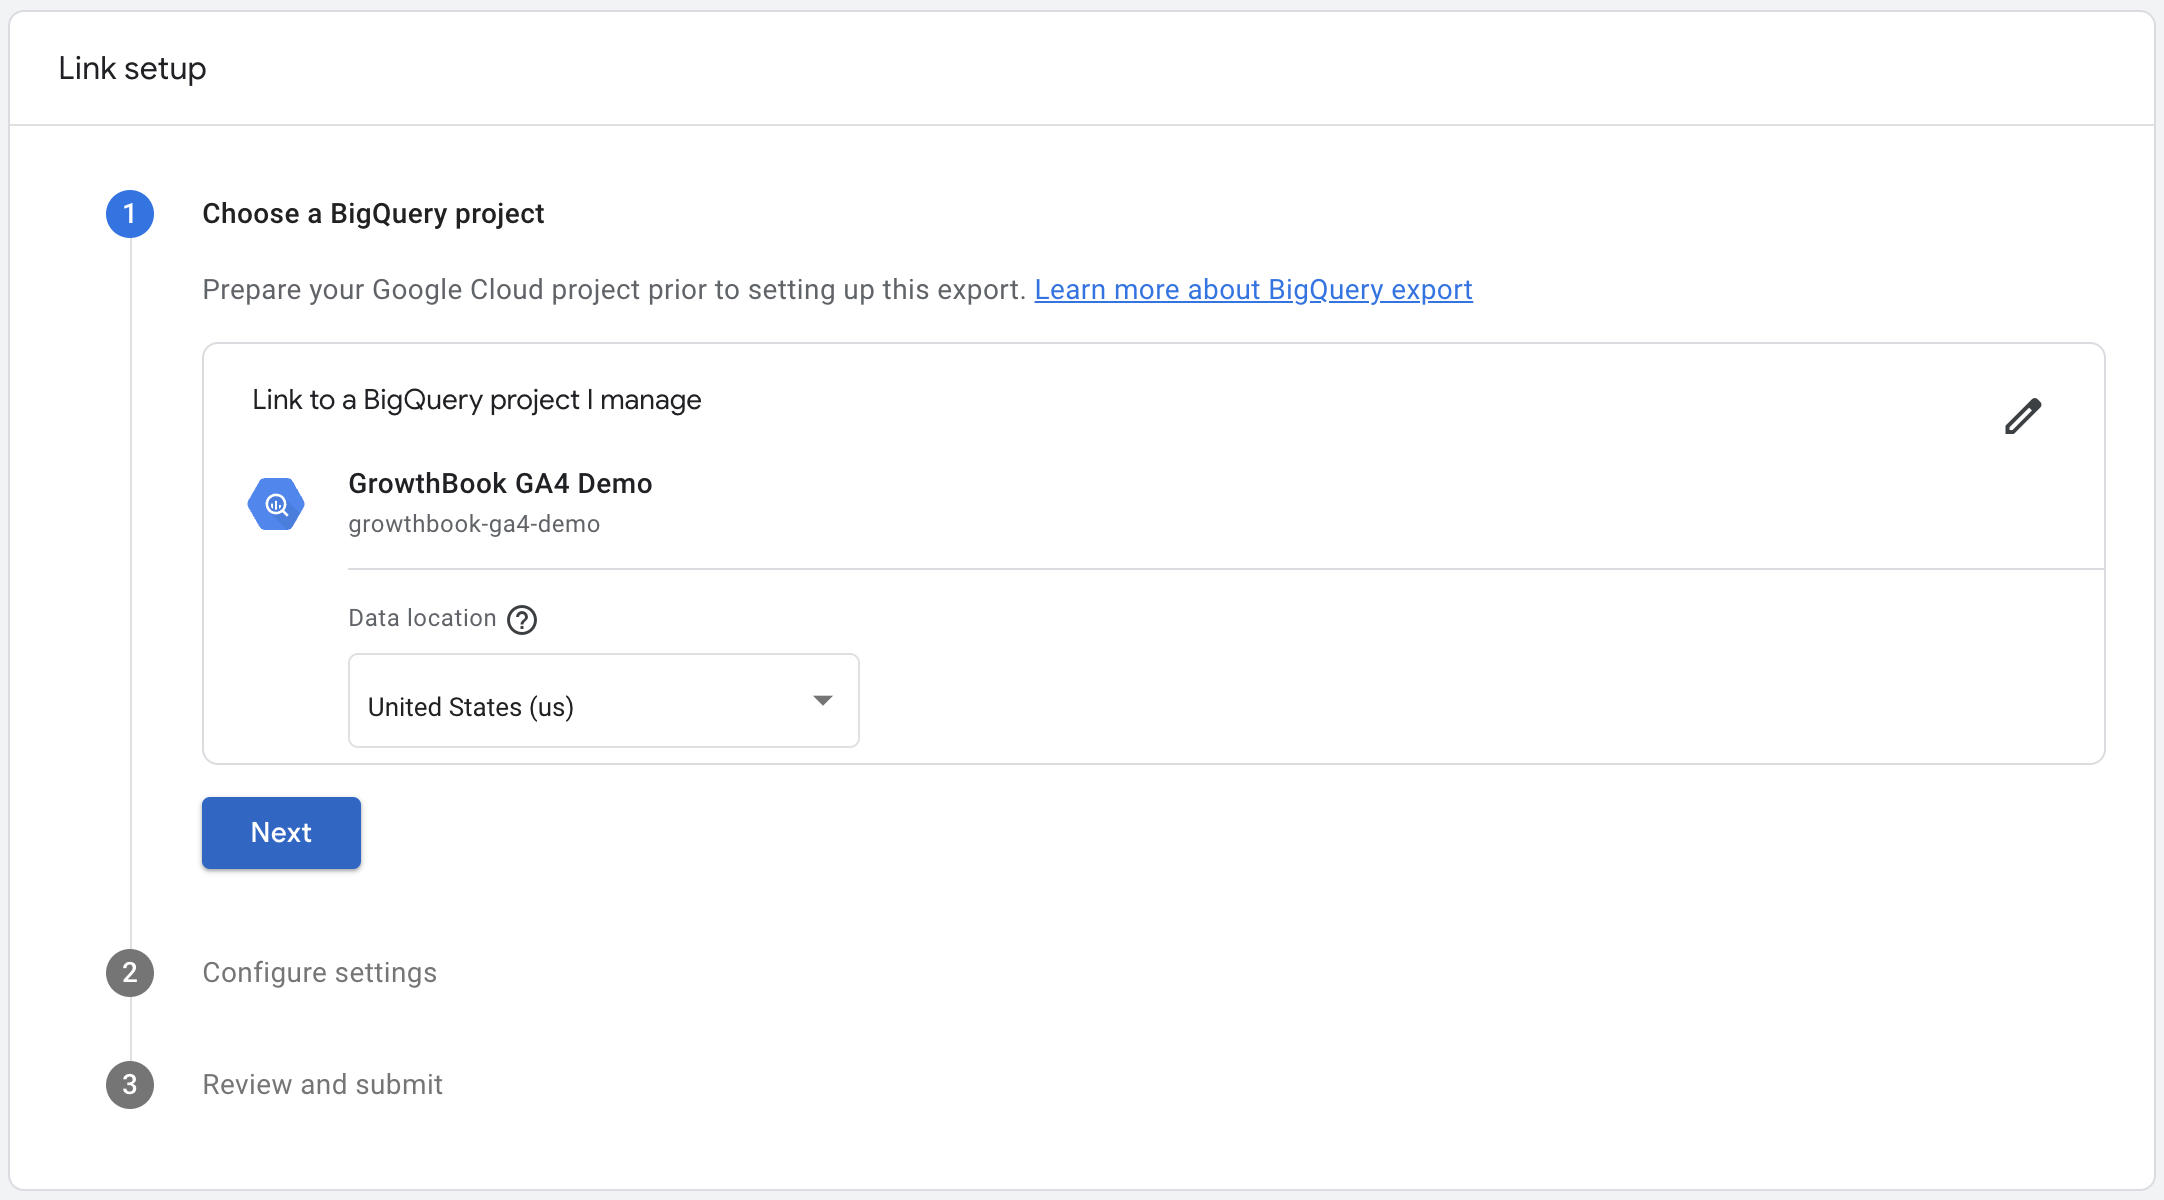
On the next step you'll be presented with some options about the connection.
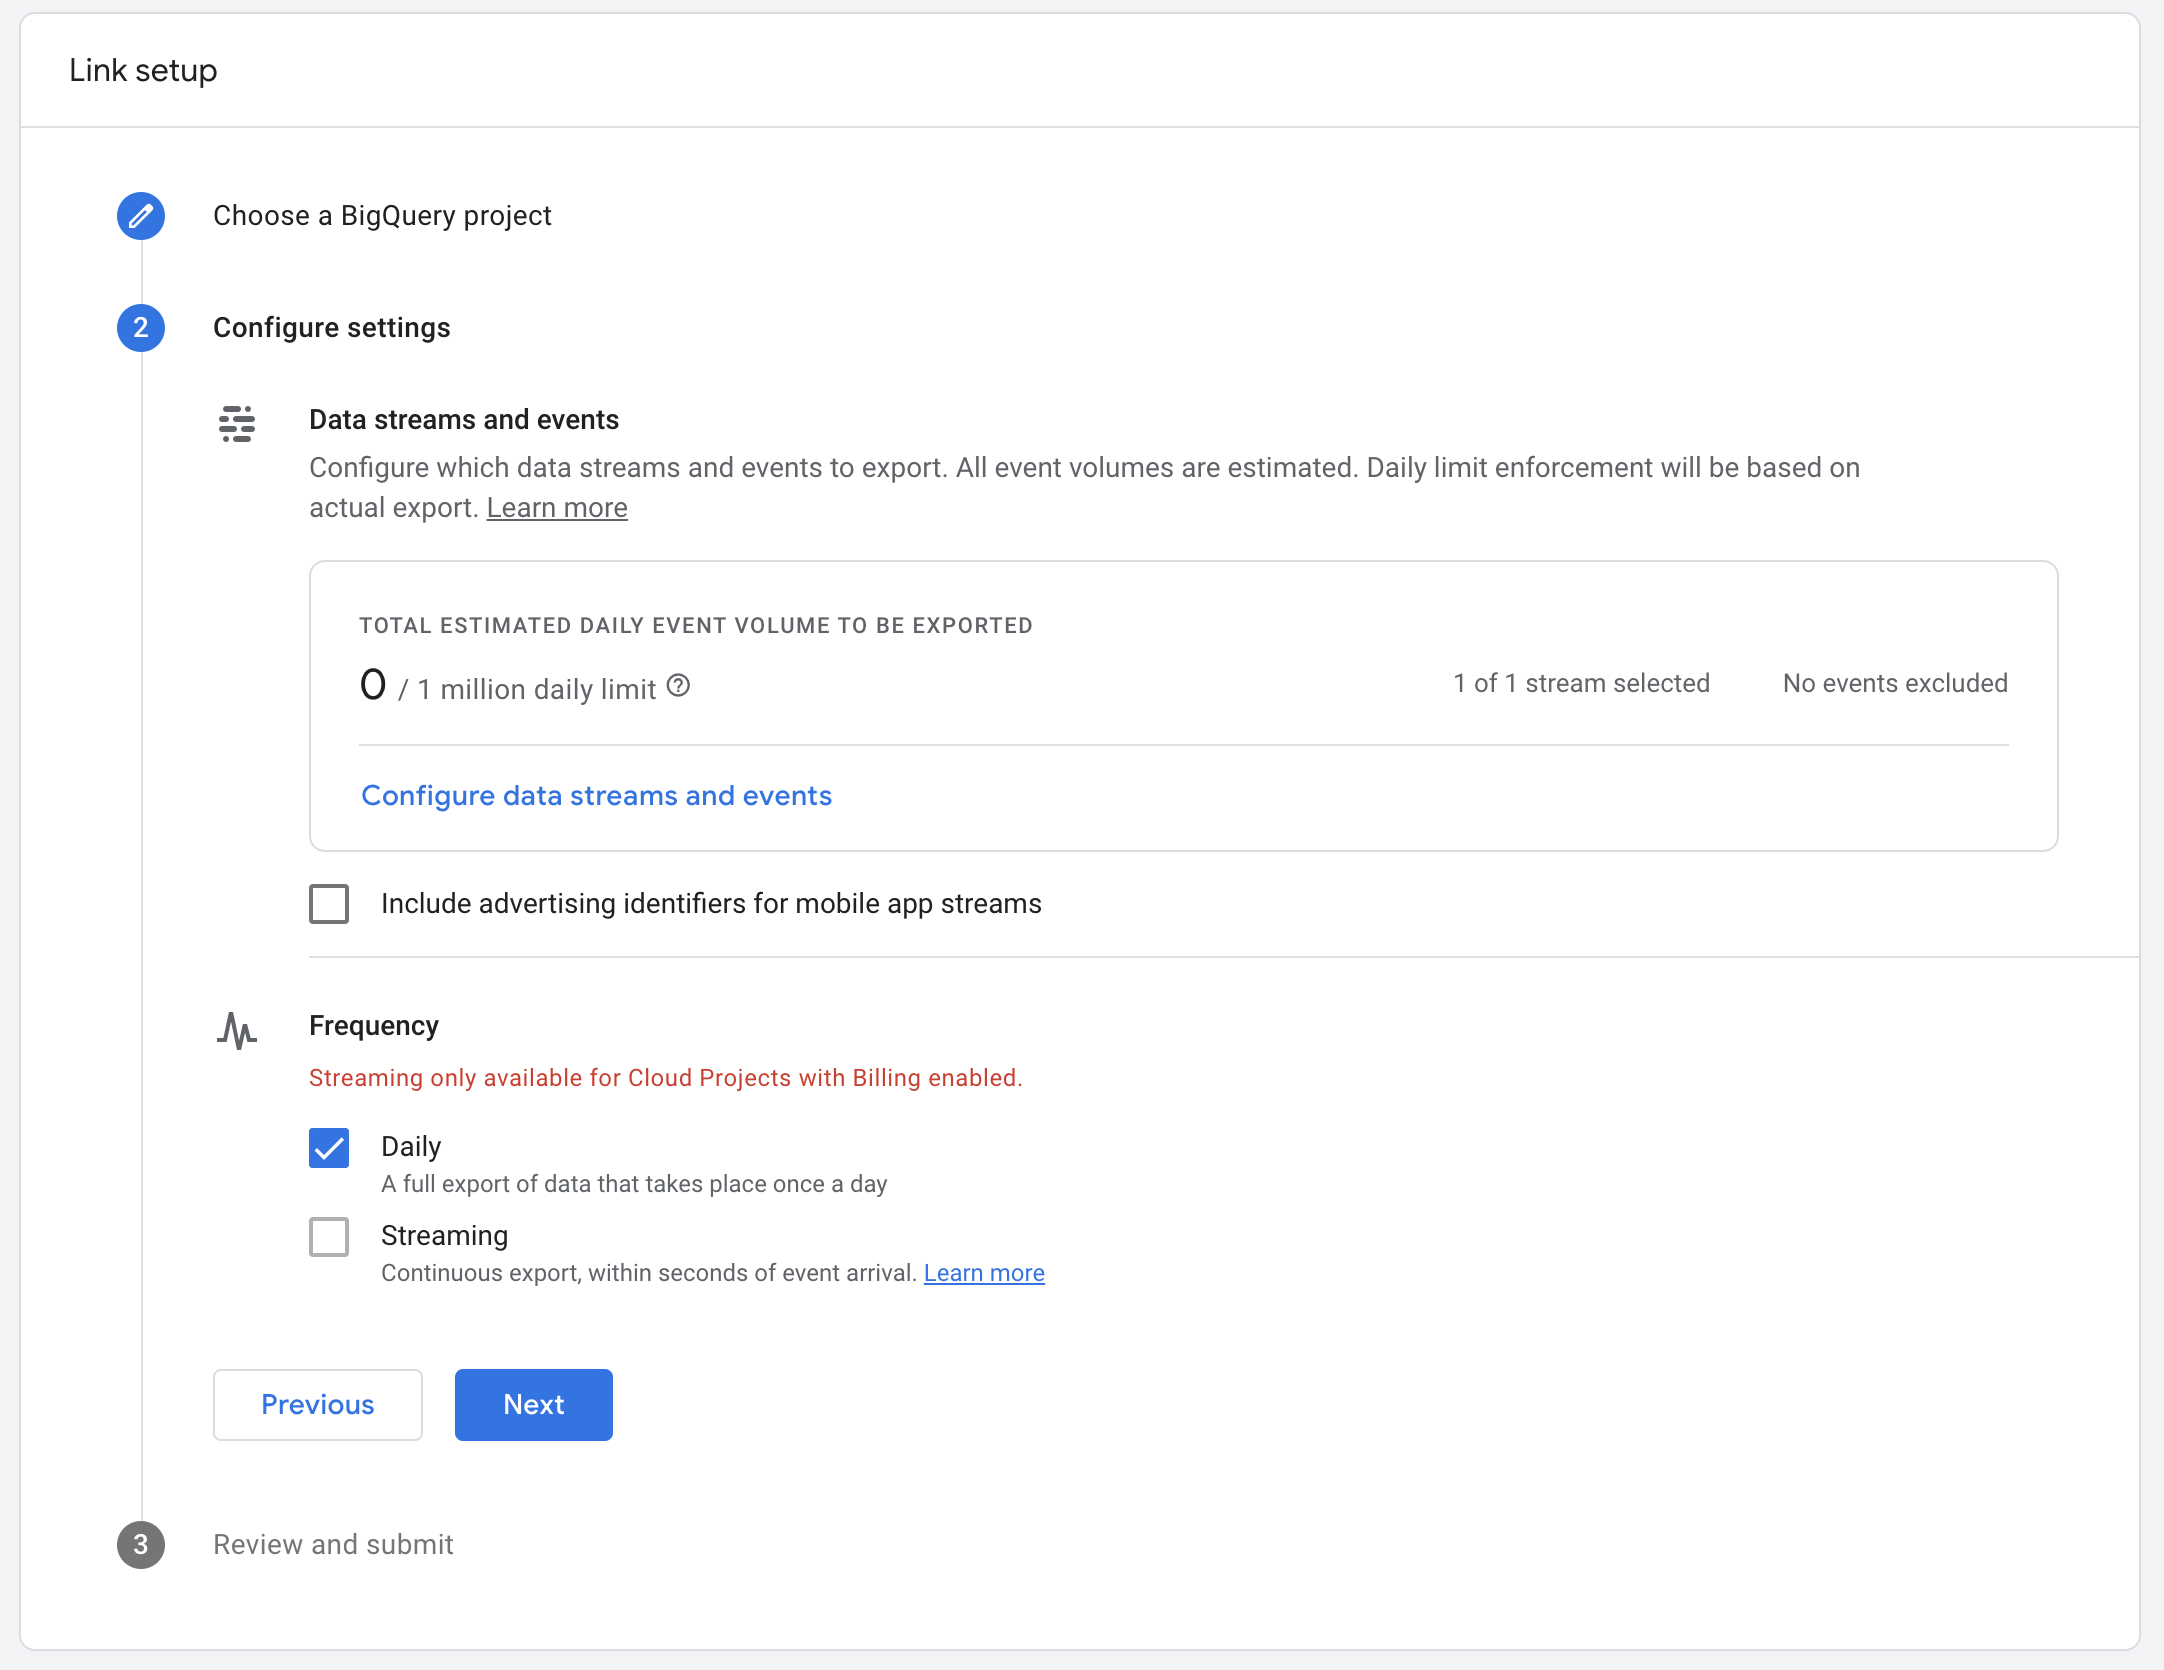
Here you can choose the frequency of data updates, either daily or streaming. To use Streaming, you'll need a BigQuery account with billing info added. Depending on your use case, daily updates may be sufficient.
On the final step you'll be asked to confirm your choices. When finished, you should see something like this, verifying that the connection was successful.

And then your BigQuery link will show up on the listing page:

3. Configure BigQuery for GrowthBook
You'll need to give GrowthBook some permissions to your BigQuery project so that we can access the data. We have created a guide just for this, which you can find here
4. Connect GrowthBook to BigQuery
Within GrowthBook, navigate to the Analysis section, and then click on the Data Sources page. Add a new data source, and select Google Analytics (GA4).
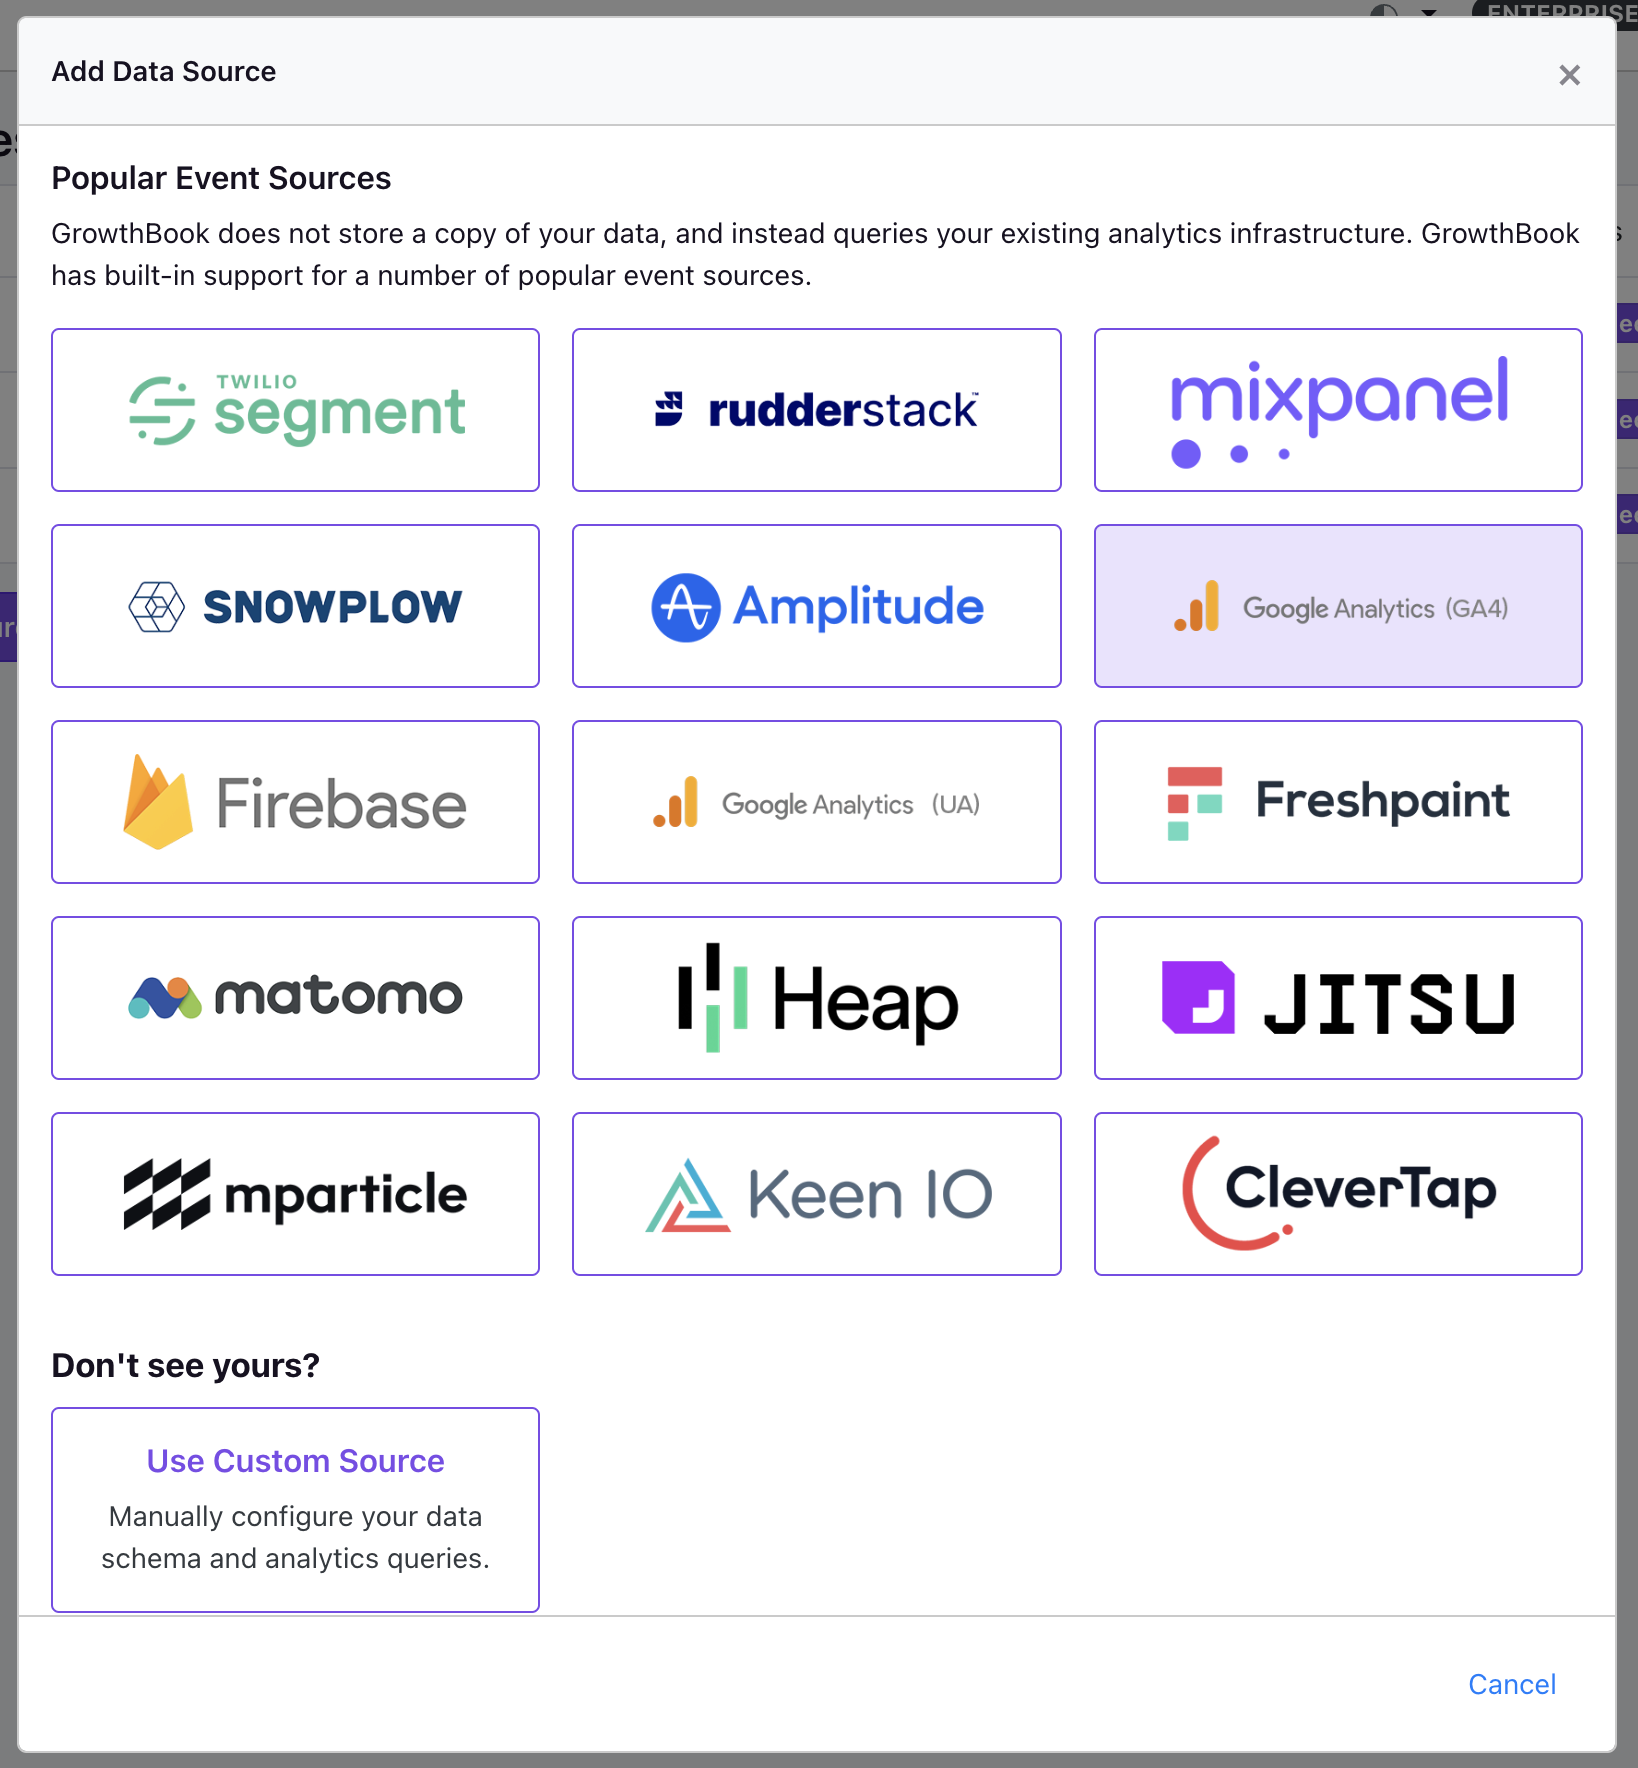
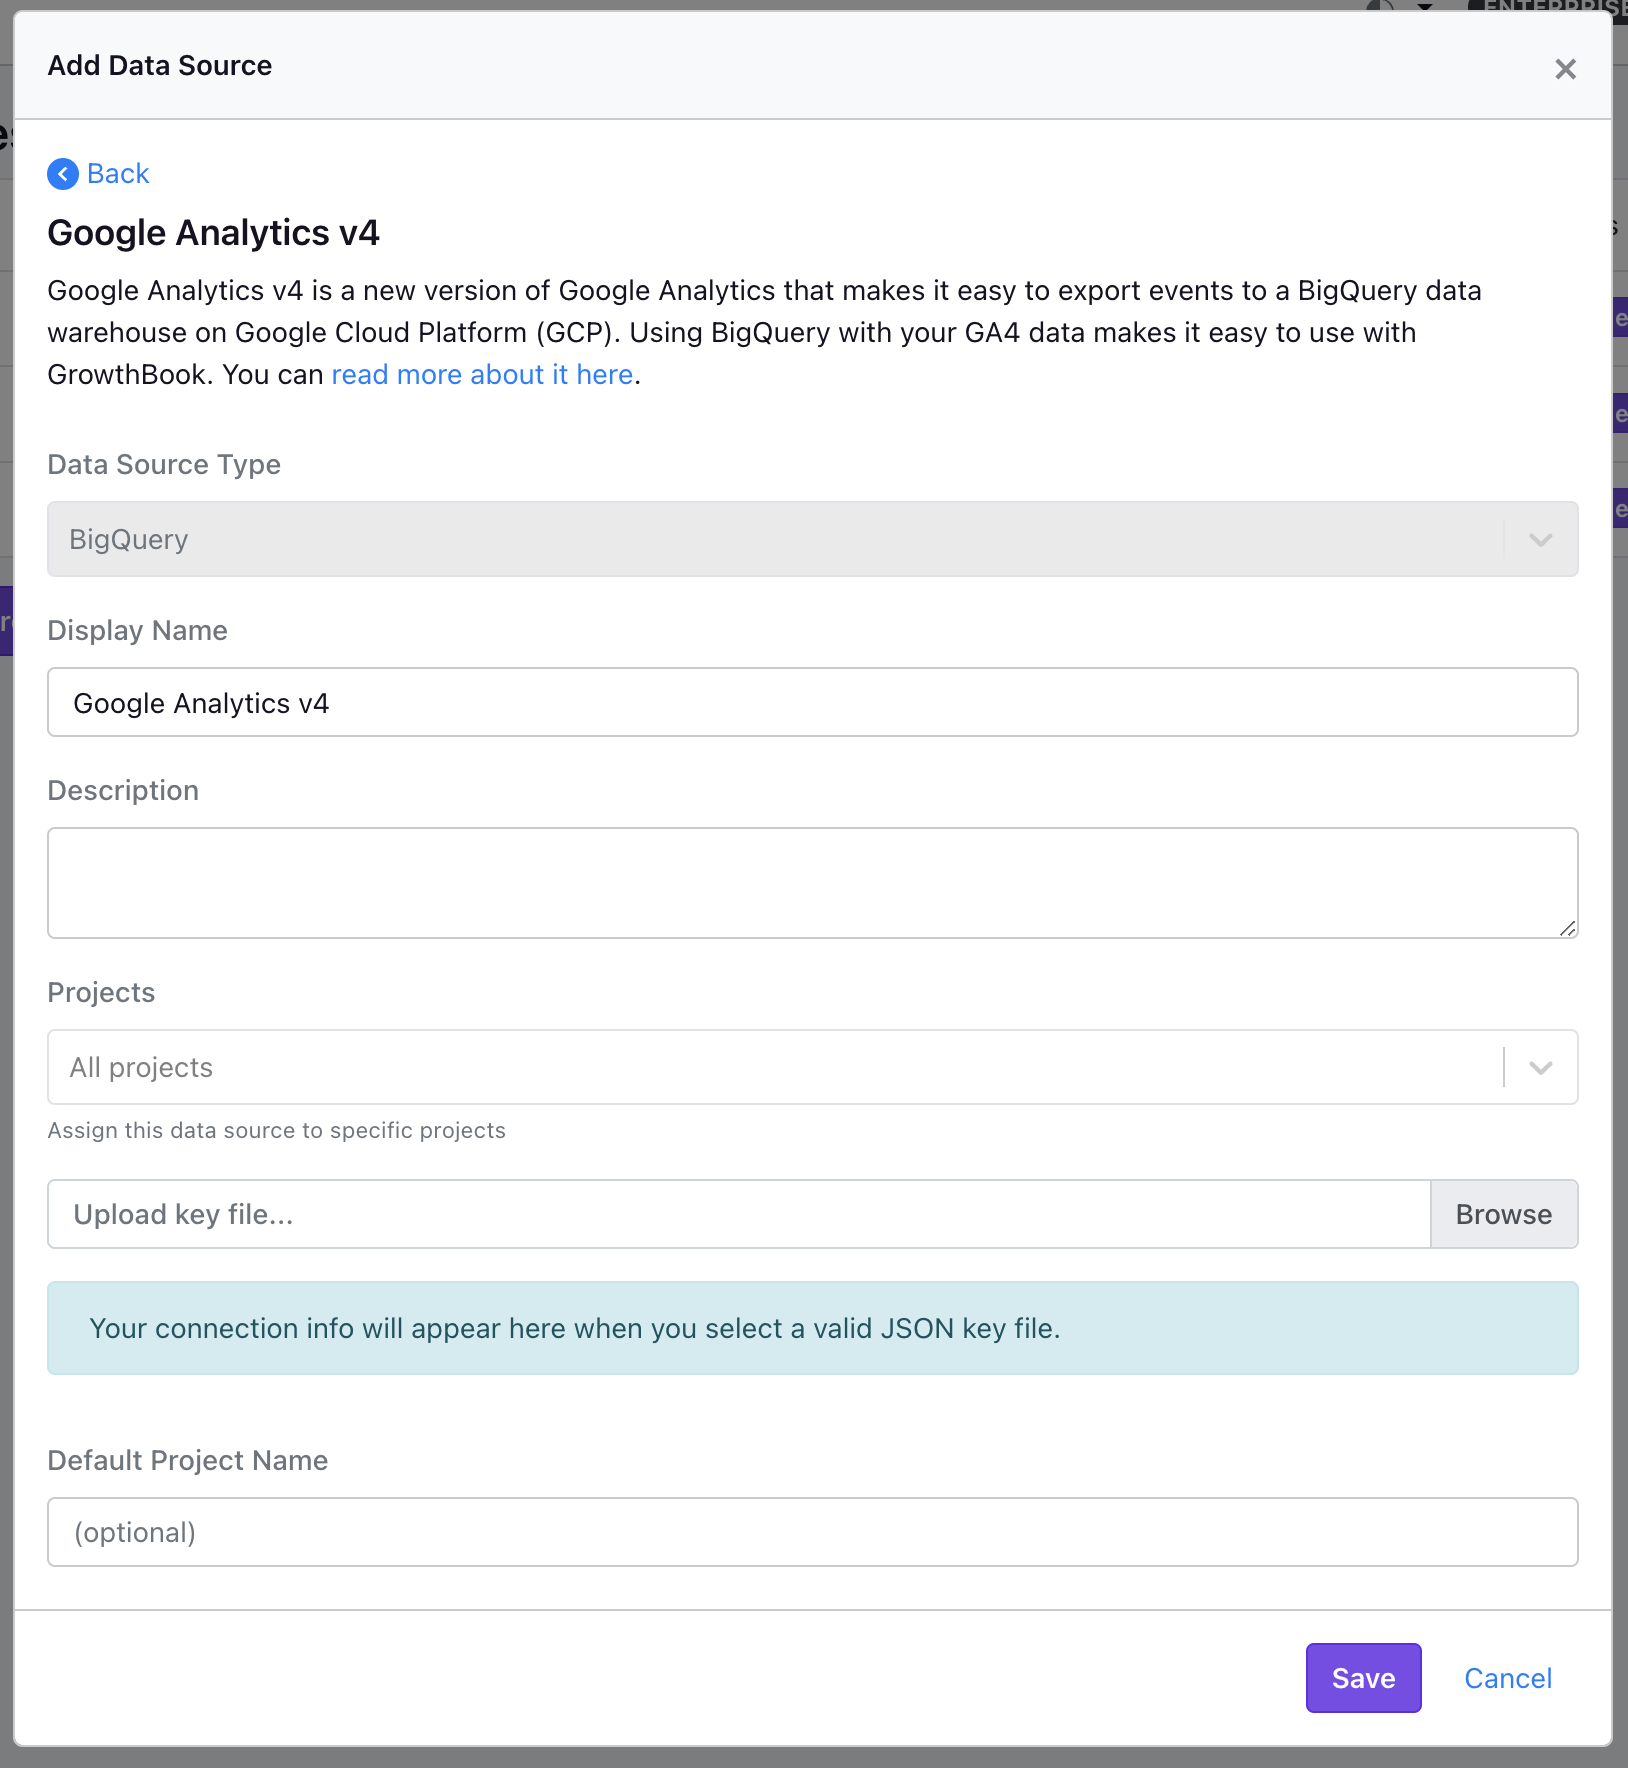
Then add your BigQuery connection info. GrowthBook will pre-populate the SQL queries required to use your GA4 data. You can also add a custom SQL query if you want to use a different table or filter the data in some way as you like.
While GrowthBook will pre-populate the SQL queries for you, you may need to adjust the experiment query to match your data depending on the way you are tracking your experiments (see the trackingCallback below).
Once connected, you'll be able to add any additional metrics or dimensions, and then you can use your GA4 data for your experiments. You can use all your existing events and tracking- GrowthBook only requires one additional tracking call when a user is exposed to an experiment.
Running experiments with GrowthBook and GA4
With the data source connected, you can use the GrowthBook SDK run A/B tests. The SDK lets you run experiments where the variations are defined in code, and controlled from UI. Once implemented, the SDK will do the random assignments and send the experiment exposure event to GA4 based on the settings in the GrowthBook UI.
We do have a visual editor for creating experiments as part of our Pro plan. Our visual editor is meant for simple experiments. Experiments that are more complex are best created with a change in the code.
SDK integration for GA4
You can follow the guides on SDK integration for any of our supported languages here. The
only special case for GA4 is getting the user Id and/or Client ID attribute, and adjusting the trackingCallback to
send the experiment exposure event to GA4.
Using GA's Client ID
GA generates a Client ID (sometimes called a Device Id) for each visitor, and then stores this unique ID in a cookie (_ga). There are a few ways to grab this Id from your code. Here are a few ways with Javascript:
gtag('get', 'G-[your google property id]', 'client_id', (clientId) => {
  console.log(clientId)
});
or
const clientId = document.cookie.match(/_ga=(.+?);/)[1].split('.').slice(-2).join(".")
You can read more about getting this ID here
Using a User ID
If you have a custom User Id already, you can use this with GA4 instead (or as well) as the Client Id. You can read Google's official instructions on how to pass a custom User Id here.
A User Id in this case would be something you pass to GA4, not something GA4 generates for you. You can use this ID throughout your GA4 reports.
Generating your own ID
In certain situations Google Analytics might not load before GrowthBook, not have the DeviceId immediately available, or just be slow to load. In these circumstances there may be a noticeable flickering while everything loads. To work around this, you can generate your own ID which can be available immediately. You don't necessarily need to pass this as a custom UserID either, you can just persist it yourself and use it for GrowthBook assignment. Here is some example code that generates a unique ID and stores it in a cookie.
const getUUID = () => {
  const COOKIE_NAME = "gbuuid";
  const COOKIE_DAYS = 400; // 400 days is the max cookie duration for chrome

  // use the browsers crypto.randomUUID if set
  const genUUID = () => {
    if(window?.crypto?.randomUUID) return window.crypto.randomUUID();
    return ([1e7]+-1e3+-4e3+-8e3+-1e11).replace(/[018]/g, c =>
      (c ^ crypto.getRandomValues(new Uint8Array(1))[0] & 15 >> c / 4).toString(16)
    );
  }
  const getCookie = (name) => {
    let value = `; ${document.cookie}`;
    let parts = value.split(`; ${name}=`);
    if (parts.length === 2) return parts.pop().split(';').shift();
  }
  const setCookie = (name, value) => {
    var d = new Date();
    d.setTime(d.getTime() + 24*60*60*1000*COOKIE_DAYS);
    document.cookie = name + "=" + value + ";path=/;expires=" + d.toGMTString();
  }

  // get the existing UUID from cookie if set, otherwise create one and store it in the cookie
  if(getCookie(COOKIE_NAME)) return getCookie(COOKIE_NAME);

  const uuid = genUUID();
  setCookie(COOKIE_NAME, uuid);
  return uuid;
}
Compressed version of the above
const getUUID=()=>{let $="gbuuid",e=()=>window.crypto.randomUUID?window.crypto.randomUUID():"10000000-1000-4000-8000-100000000000".replace(/[018]/g,$=>($^crypto.getRandomValues(new Uint8Array(1))[0]&15>>$/4).toString(16)),t=$=>{let e=`; ${document.cookie}`.split(`; ${$}=`);if(2===e.length)return e.pop().split(";").shift()},r=($,e)=>{var t=new Date;t.setTime(t.getTime()+3456e7),document.cookie=$+"="+e+";path=/;expires="+t.toGMTString()};if(t($))return t($);let i=e();return r($,i),i};
Here is the same code, compressed, and used with GA4 and GrowthBook, assuming you're loading GrowthBook with a script tag with the id growthbook-sdk
<script id="growthbook-sdk" src="https://cdn.jsdelivr.net/npm/@growthbook/growthbook/dist/bundles/index.min.js" defer></script>
<script>
  (function() {
    // Wait for the SDK to load before starting GrowthBook
    if (window.growthbook) {
      startGrowthbook();
    } else {
      document.querySelector("#growthbook-sdk").addEventListener("load", startGrowthbook);
    }

    function startGrowthbook() {
      if (!window.growthbook) return;
      const getUUID=()=>{let $="gbuuid",e=()=>window.crypto.randomUUID?window.crypto.randomUUID():"10000000-1000-4000-8000-100000000000".replace(/[018]/g,$=>($^crypto.getRandomValues(new Uint8Array(1))[0]&15>>$/4).toString(16)),t=$=>{let e=`; ${document.cookie}`.split(`; ${$}=`);if(2===e.length)return e.pop().split(";").shift()},r=($,e)=>{var t=new Date;t.setTime(t.getTime()+3456e7),document.cookie=$+"="+e+";path=/;expires="+t.toGMTString()};if(t($))return t($);let i=e();return r($,i),i};

      let gbuuid = getUUID();
      let gb = new growthbook.GrowthBook({
        apiHost: "https://cdn.growthbook.io",
        clientKey: "sdk-abcd1234",
        // TODO: Add decryptionKey if using encryption
        attributes: {
          id: gbuuid
          //add any other attributes here
        },
        trackingCallback: function(experiment, result) {
          // track with GA4, for example:
          gtag("event", "experiment_viewed", {
            event_category: "experiment",
            experiment_id: experiment.key,
            variation_id: result.variationId,
            gb_user_id: gbuuid,
          });
        }
      });

      // TODO: Instrument DOM with AB test logic
      gb.loadFeatures().then(function() {
        // if you want to do anything after GB loads
      });
    }
  })();
</script>
Passing Attributes to the SDK
Once you have your Client ID and/or User Id, you can pass it to the GrowthBook SDK when you initialize it. For example:
const gb = new GrowthBook({
  apiHost: "https://cdn.growthbook.io",
  clientKey: "sdk-abc123",
  // Enable easier debugging during development
  enableDevMode: true,
  // Targeting attributes
  attributes: {
    clientId: clientId,
    userId: userId,
    country: "US",
    ...
  }
});
And then these id's can be used from the GrowthBook UI to target your experiments. You can add the attributes to the UI from the Features -> Attributes page.
Tracking experiment exposure
The only additional event required is when a user is exposed to an experiment. This is done by adding a GA4 custom event from inside the trackingCallback method. For example:
const gb = new GrowthBook({
  apiHost: "https://cdn.growthbook.io",
  clientKey: "sdk-abc123",
  // Targeting attributes
  attributes: {
    clientId: gaUserId,
    userId: userId,
    country: country,
    ...
  },
  trackingCallback: (experiment, result) => {
    // track using GA4
    if ("gtag" in window) {
      window.gtag("event", "experiment_viewed", {
        event_category: "experiment",
        experiment_id: experiment.key,
        variation_id: result.variationId,
        ...
      });
    } else {
      console.log("no gtag");
    }
  },
});
If your experiment is not firing the trackingCallback you can use our
Chrome developer tool
to help you debug and make sure the user attributes are being set correctly.
Implementing the experiment variations can be done with code with inline experiments, using the feature flags, or by using our visual editor.